
*이 글을 읽기전에 작성자 개인의견이 있으니, 다른 블로그와 교차로 읽는것을 권장합니다.*
영상(Image)
- 픽셀이 바둑판 모양의 격자에 나열되어 있는 형태
- 픽셀 : 이미지를 구성하는 가장 적은 단위
- 2차원 행렬
그레이스케일 영상
- 흑백 사진처럼 색상 정보가 없는 영상
- 밝기 정보만으로 구성된 영상
- 밝기 정보는 256단계로 표현(0 ~ 256)
- 8bit에 저장 = 1byte
- 가로크기 * 세로크기 = 이미지 용량
예) 28 * 28 = 784 bytes
트루컬러 영상
- 컬러 사진처럼 색상 정보를 가지고 있기 때문에 다양한 색상을 표현할 수 있는 영상
- red, green, blue 색 성분을 사용하고 각 256단계로 표현
- 픽셀의 표현 -> (255, 255, 255) 튜플 형태로 표현
- 3byte
- 가로크기 * 세로크기 * 3 = 이미지 용량
예) 28 * 228 * 3 = 2352 bytes
영상 파일 형식
BMP
- 픽셀 데이터를 압축하지 않고 그대로 저장
- 용량이 매우 큼(픽셀의 일반적인 크기)
- 파일 구조가 단순해서 별도의 라이브러리 없이 프로그래밍 가능
JPG(JPEG)
- 압축률이 좋아서 파일 용량이 크게 감소
- 사진과 같은 컬러영상을 저장
- 손실 압축
GIF
- 움직이는 영상 지원
- 256색 이하의 영상을 저장
- 무손실 압축
PNG
- 웹 이미지용으로 권장
- 무손실, 손실 압축
- 알파 채널(투명도)을 지원
- (255, 255, 255, 1)
OpenCV-PYthon 모듈
OpenCV
- 컴퓨터 비전과 이미지 처리를 위한 오픈소스 라이브러리
- 1999년 인텔에서 영상처리 기술을 개발하기 위한 목적으로 만듦
- 2000년 BSD 라이센스로 배포
- 2011년 이후 opencv2로 개발 시작
- 파이썬은 c언어같이 포인터를 다루는게 없기 때문에, 파라미터 개량하지 못하기 때문에 대충 조절
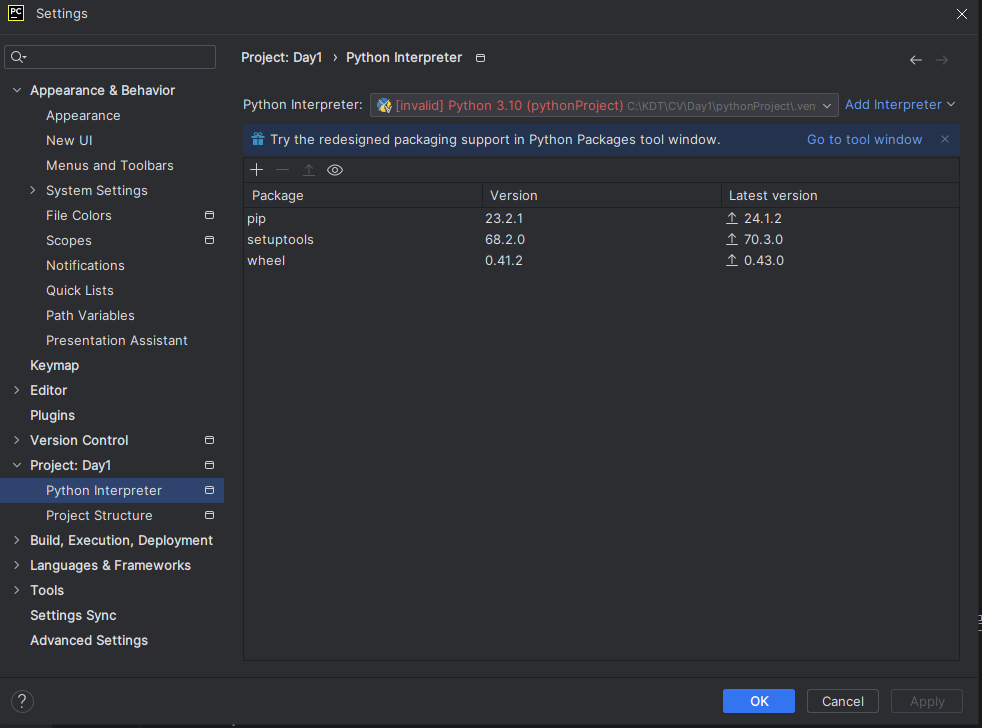
- opencv 설치
- pip install opencv-python
- import cv2
- 설치와 모듈은 이름이 다름
- 파이참에서 설치는 비쥬얼 편하게 파일에서 셋팅
1_openCV
# openCV
import cv2
print('현재 opencv버전:', cv2.__version__)
# 그레이스케일 영상
img1 = cv2.imread('./dog.bmp', cv2.IMREAD_GRAYSCALE)
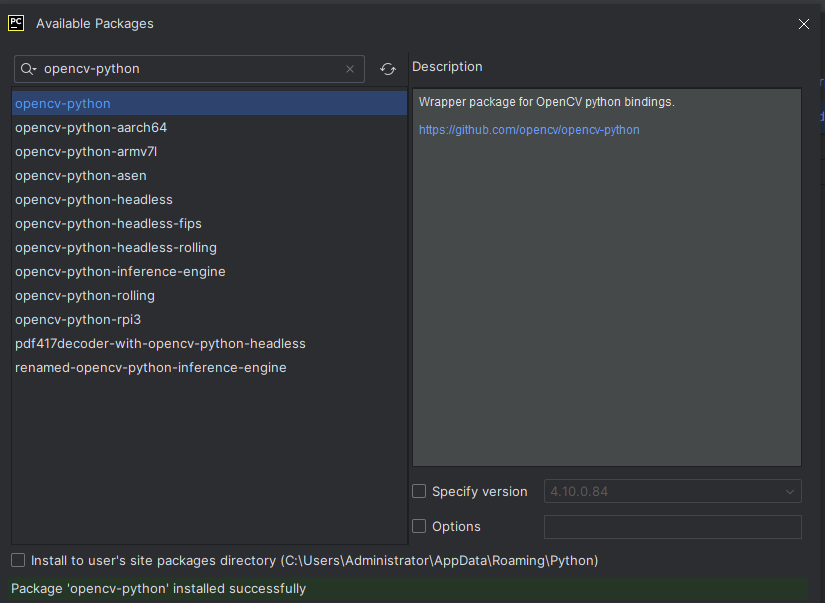
# 트루컬러 영상
img2 = cv2.imread('./dog.bmp', cv2.IMREAD_COLOR)
print(img2)
cv2.imshow('img1',img1) # winname은 창이미지 이름
cv2.imshow('img2', img2)
cv2.waitKey()
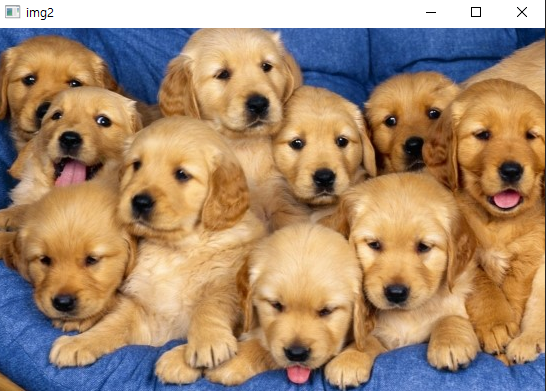
2_matplotlib

import cv2
import matplotlib.pyplot as plt

'''
# cv2를 통해 그레이 스케일로 출력
img = cv2.imread('./dog.bmp', cv2.IMREAD_GRAYSCALE)
cv2.imshow('img',img)
cv2.waitKey()
'''

'''
# matplotlib을 통해 그레이 스케일로 출력
img = cv2.imread('./dog.bmp', cv2.IMREAD_GRAYSCALE)
plt.axis('off')
plt.imshow(img, cmap='gray')
plt.show()
'''

'''
# matplotlib을 통해 트루컬로 출력 / matplotlib:RGB, opencv:BGR
img = cv2.imread('./dog.bmp') # BGR
img = cv2.cvtColor(img, cv2.COLOR_BGR2RGB) # BGR -> RGB
plt.axis('off')
plt.imshow(img)
plt.show()
'''

# subplot이용하여 left plot에는 그레이 스케일 영상, right plot에는 컬러영상을 출력
img_gray = cv2.imread('./dog.bmp', cv2.IMREAD_GRAYSCALE)
img_color = cv2.imread('./dog.bmp')
img_color = cv2.cvtColor(img_color, cv2.COLOR_BGR2RGB)

plt.subplot(121)
plt.axis('off')
plt.imshow(img_gray, cmap='gray')

plt.subplot(122)
plt.axis('off')
plt.imshow(img_color)
plt.show()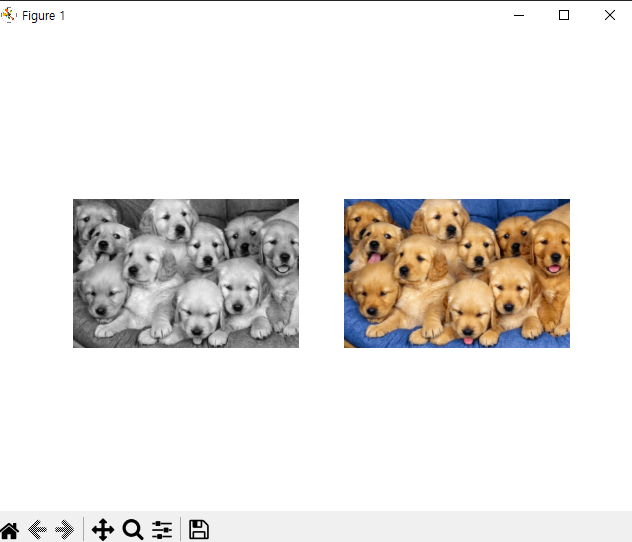
3_imgInfo
import cv2
img_gray = cv2.imread('./dog.bmp', cv2.IMREAD_GRAYSCALE)
print('img_gray type: ', type(img_gray))
print('img_gray shape: ', img_gray.shape) # (세로, 가로)
print('img_gray dtype: ', img_gray.dtype) # unit8 = 양수(정수형)
img_color = cv2.imread('./dog.bmp')
print('img_color type: ', type(img_color))
print('img_color shape: ', img_color.shape) # (세로, 가로, 채널)
print('img_color dtype: ', img_color.dtype)
h, w = img_color.shape[:2] # 세로, 가로만 할당
print(f'이미지 사이즈: {h}*{w}')
# 그레이스케일 영상인지, 컬러영상인지 구분하기
if len(img_color.shape) ==3:
print('컬러 영상')
elif len(img_color.shape) ==2:
print('그레이스케일 영상')
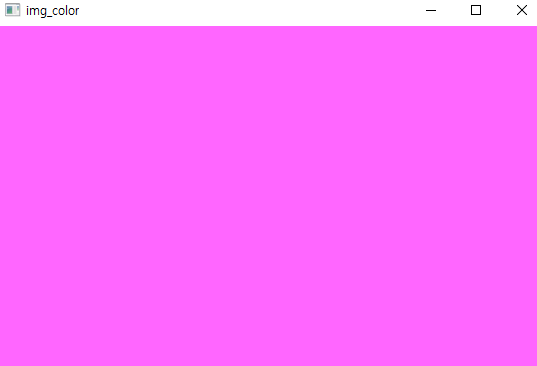
# img_color에 특정 색 정보로 영상을 출력
# BGR: (255, 102, 255)
'''
for x in range(h):
for y in range(w):
img_color[x,y] = (255, 102, 255)
'''
img_color[:, :]= (255,102,255)
cv2.imshow('img_color', img_color)
cv2.waitKey()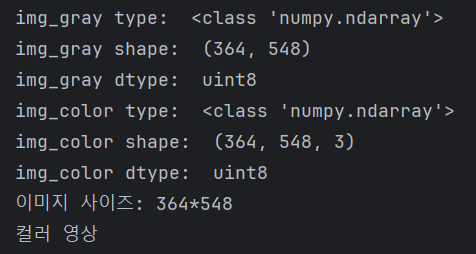
4_createImg
import cv2
import numpy as np

img1 = np.zeros((240,320,3), dtype=np.uint8)
img2 = np.empty((240,320), dtype=np.uint8)
img3 = np.ones((240,320), dtype=np.uint8) * 130
img4 = np.full((240,320,3), (255,102,255), dtype=np.uint8)


cv2.imshow('img1', img1)
cv2.imshow('img2', img2)
cv2.imshow('img3', img3)
cv2.imshow('img4',img4)
cv2.waitKey()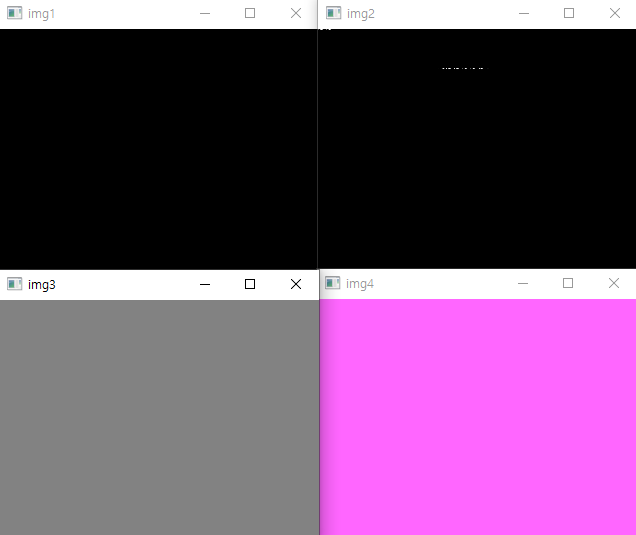
5_copyImg
import cv2

img=cv2.imread('./dog.bmp')
img_test = img

img_test[90:210, 120:240] = (255,102,255)

cv2.imshow('img',img)
cv2.imshow('img_test', img_test)
cv2.waitKey()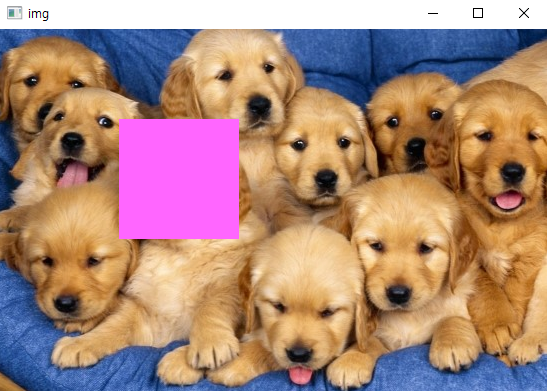

6_drawing
import cv2
import numpy as np

img = np.full((500,500,3), 255, np.uint8)

cv2.line(img, (70,70), (400, 70), (0,0,255), 5)
# cv2.rectangle(img, (50,200,150,100), (0,255,0),3)
cv2.rectangle(img, (50,200,150,100), (0,255,0),-1)
cv2.circle(img, (300,400), 50, (255,0,0), 3)
cv2.putText(img, 'Hello OpenCV', (50,300), cv2.FONT_HERSHEY_SIMPLEX, 2,(0,0,0))

cv2.imshow('img', img)
cv2.waitKey()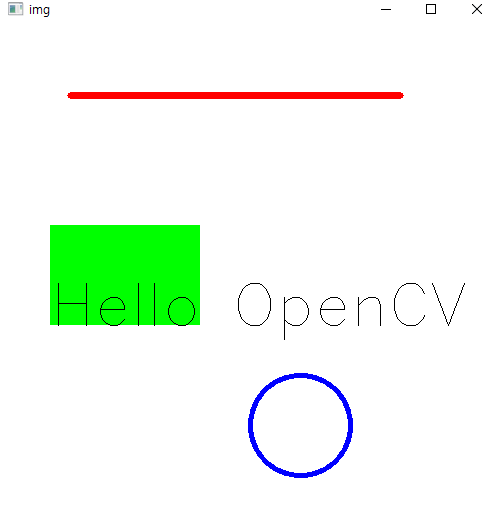
7_cameraIn
import cv2
import sys

cap = cv2.VideoCapture() # 파일경로 : 동영상 불러옴, 숫자 : 해당 인덱스에 설치된 카메라를 불러오기

if not cap.isOpened():
    print('카메라를 열 수 없음')
    sys.exit()

print('카메라 연결 성공')
print('가로 사이즈: ', int(cap.get(cv2.CAP_PROP_FRAME_WIDTH)))
print('세로 사이즈:', int(cap.get(cv2.CAP_PROP_FRAME_HEIGHT)))

while True:
    ret, frame = cap.read()
    if not ret:
        break
    cv2.imshow('frame', frame)
    if cv2.waitKey(10) ==27:
        break

cap.release()
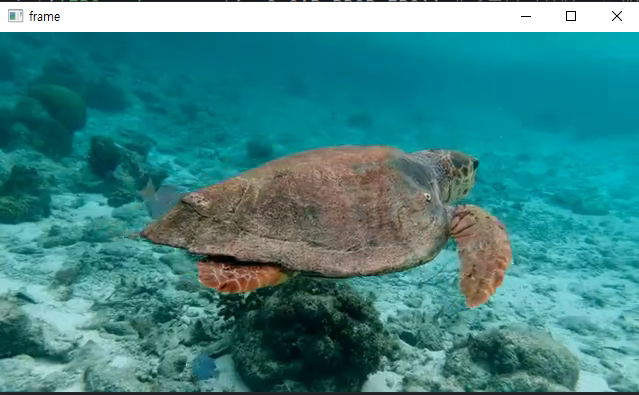
8_videoIn
동영상 출력하기
FourCC(Four Character Code)
- 4바이트로 된 문자열이며 데이터 형식을 구분하는 고유 글자
- 주로 AVI 파일의 영상 코덱을 구분할 때 사용
cv2.VideoWriter.fourcc(*'DIVX') // DIVX
cv2.VideoWriter.fourcc(*'XVID') // XVID
cv2.VideoWriter.fourcc(*'MP4V') // MP4V
...
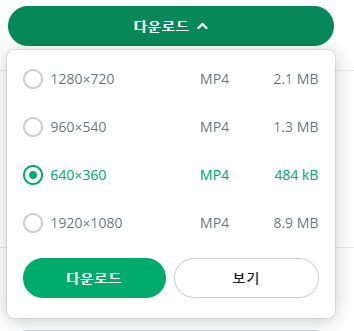
https://pixabay.com/ko/videos/
import cv2
import sys

cap = cv2.VideoCapture('./movie.mp4')

if not cap.isOpened():
    print('동영상을 불러올 수 없음')
    sys.exit()

print('동영상 불러오기 성공')
print('가로 사이즈: ', int(cap.get(cv2.CAP_PROP_FRAME_WIDTH)))
print('세로 사이즈: ', int(cap.get(cv2.CAP_PROP_FRAME_HEIGHT)))
print('프레임 수: ', int(cap.get(cv2.CAP_PROP_FRAME_COUNT)))
print('FPS : ',cap.get(cv2.CAP_PROP_FPS)) # 1초당 보내는 프레임 수

while True:
    ret, frame = cap.read()
    if not ret:
        break
    cv2.imshow('frame', frame)
    if cv2.waitKey(10) ==27:
        break

cap.release()
9_cameraOut
import cv2

cap = cv2.VideoCapture(0)

w = round(cap.get(cv2.CAP_PROP_FRAME_WIDTH))
h = round(cap.get(cv2.CAP_PROP_FRAME_HEIGHT))
fps = cap.get(cv2.CAP_PROP_FPS)

fourcc = cv2.VideoWriter.fourcc(*'DIVX')
out = cv2.VideoWriter('output.avi', fourcc, fps, (w,h))

while True:
    ret, frame = cap.read()
    if not ret:
        break
    out.write(frame)
    cv2.imshow('frame', frame)
    if cv2.waitKey(10) ==27:
        break

cap.release()
cap.release()
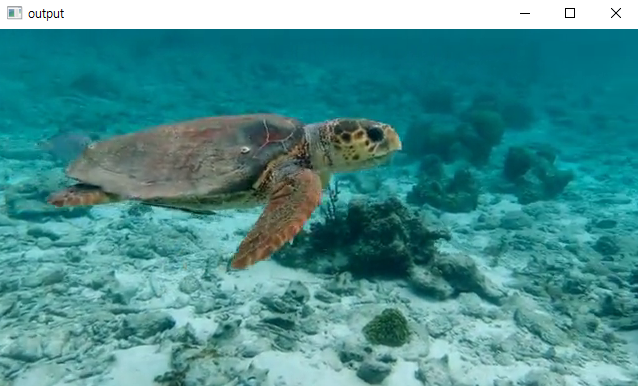
10_VideoOut
import cv2
import sys
cap1 = cv2.VideoCapture('./movie.mp4')
cap2 = cv2.VideoCapture('./movie2.mp4')
w = round(cap1.get(cv2.CAP_PROP_FRAME_WIDTH))
h = round(cap1.get(cv2.CAP_PROP_FRAME_HEIGHT))
frame_cnt1 = round(cap1.get(cv2.CAP_PROP_FRAME_COUNT))
frame_cnt2 = round(cap2.get(cv2.CAP_PROP_FRAME_COUNT))
fps = cap1.get(cv2.CAP_PROP_FPS)
fourcc = cv2.VideoWriter.fourcc(*'DIVX')
out = cv2.VideoWriter('mix.avi', fourcc, fps, (w,h))
for i in range(frame_cnt1):
ret, frame = cap1.read()
cv2.imshow('output', frame)
out.write(frame)
if cv2.waitKey(10) == 27:
break
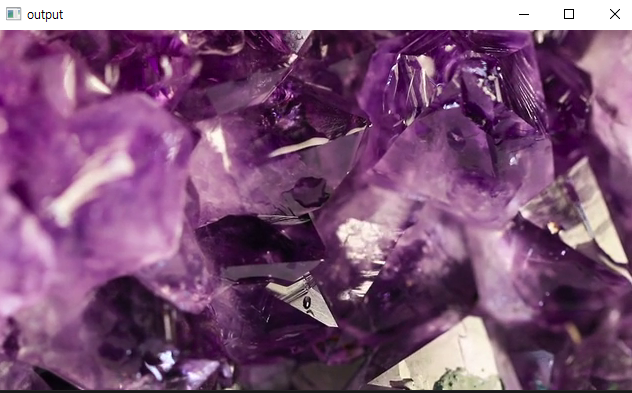
for i in range(frame_cnt2):
ret, frame = cap2.read()
cv2.imshow('output', frame)
out.write(frame)
if cv2.waitKey(10) == 27:
break
cap1.release()
cap2.release()
out.release()영상 2개 재생
'Python > 컴퓨터 비전' 카테고리의 다른 글
| Python(54)- 모폴로지 처리, 레이블링, 테서렉트 (0) | 2024.07.23 |
|---|---|
| Python(53)- 엣지 검출, 투시 변환 (0) | 2024.07.23 |
| Python(52)- ROI, 이진화(threshold, otsu) (0) | 2024.07.23 |
| Python(51)- CLAHE(평탄화), 색상추출, hist (0) | 2024.07.23 |
| Python(49)- 컴퓨터 비전 (0) | 2024.07.16 |


